Users who want to become (also) Instructors, can submit a form by clicking the corresponding button at the home page.

Users will need to complete the following extra fields during their application to become Instructors:
- Artist Name / Alias:
Under which artist name/alias are you offering lessons? - Email:
Your professional email address. - Phone (will NOT be used for marketing purposes).
- Info:
Insights on your experience, expertise etc. It’s important to give us as much info as possible in order to evaluate your level of expertise. Info provided will help us approve or reject your request to become an instructor at Cake College. - Attached files:
Send us any files to prove your expertise and help us approve or reject your request to become an instructor at Cake College (allowed file extensions: .png,.jpg,.jpeg,.mp4,.pdf).
Cake. College Admin Team handle all requests and is able either to approve or decline them.
In case of rejection, Cake.College will describe the reasons for rejection in the message which the user will get as a notification on his/her profile page.
.png?alt=media&token=ea9ddae2-133a-448f-9955-9764da0a21f2)
Step 1: Create Course
If you have registered and approved as an Instructor, you can use the course builder straight from your easy-to-use Admin Panel. To add a new course, go to your profile and click the Add New Course button.
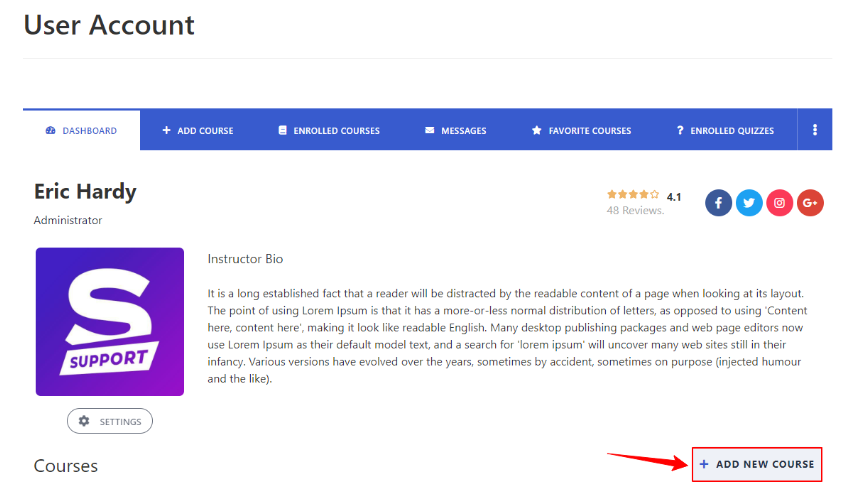
Alternatively, you can use the User Account dropdown menu.

Then, you can use the step-by-step Course Builder to start filling in the content, by firstly adding information such as course name, category, featured image, course level, URL. This information is essential as it gives potential students a clear understanding of what the course is about and helps them make an important decision about whether to enroll or not.

Step 2: Curriculum


-
Text – a learning module that primarily presents information to learners through written text. Text lessons are often used to introduce new concepts or ideas, provide background information, or summarize key points.
- Video – is an instructional module that consists primarily of a video as the main teaching tool. It is a type of e-learning content that can be used to deliver lectures, presentations, tutorials, or demonstrations.
- Stream – allows instructors to embed a live YouTube video directly into their online course content. This can be useful for delivering lectures, hosting virtual discussions, and providing multimedia resources to students.
- Quiz – a gamification tool to add extra fun to your courses.
- Assignment – Use assignments to test your students, create interesting tasks for them, or ask them to upload essays/completed work in any format (docs, video, presentations etc).
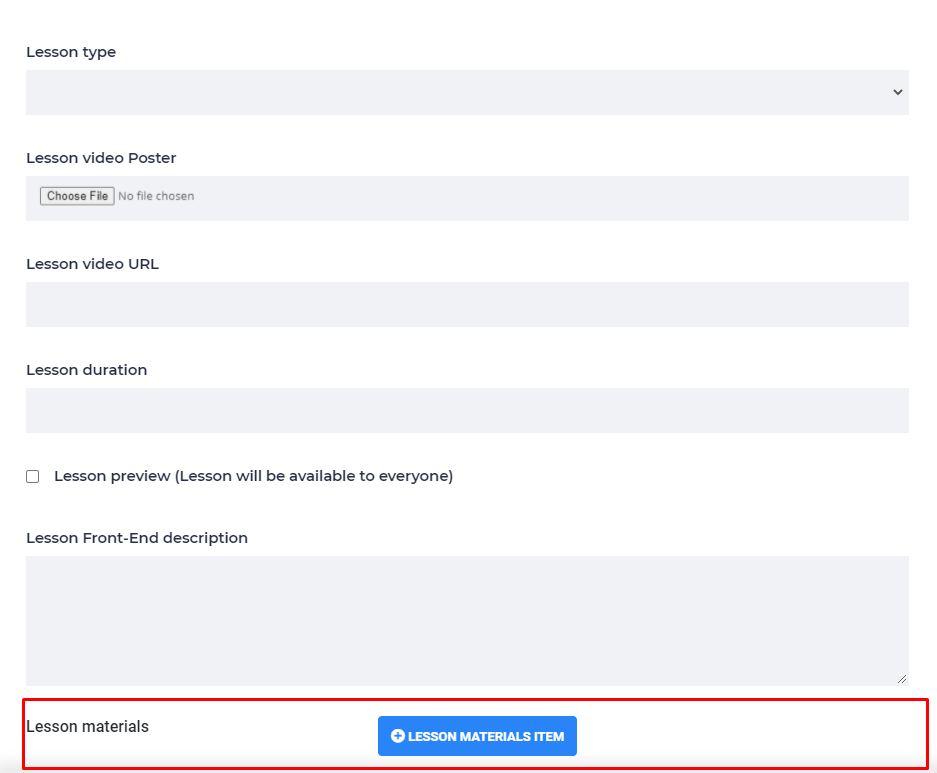
After adding a title for the lesson, several fields should be filled out, depending on your lesson choice, such as:
- Lesson Type: Text, Video, Stream;
- Lesson Duration: Information about the duration of the lesson;
- Lesson Preview: Makes the Lesson open/private for visitors of the Cake.College platform;
- Lesson Frontend Description: Description of the Lesson that will be visible in the Course Curriculum;
- Lesson Materials: Files that can be used during the lesson.


The Pricing tab is a section within a course builder that allows the instructors to set, adjust and manage the price of a course.
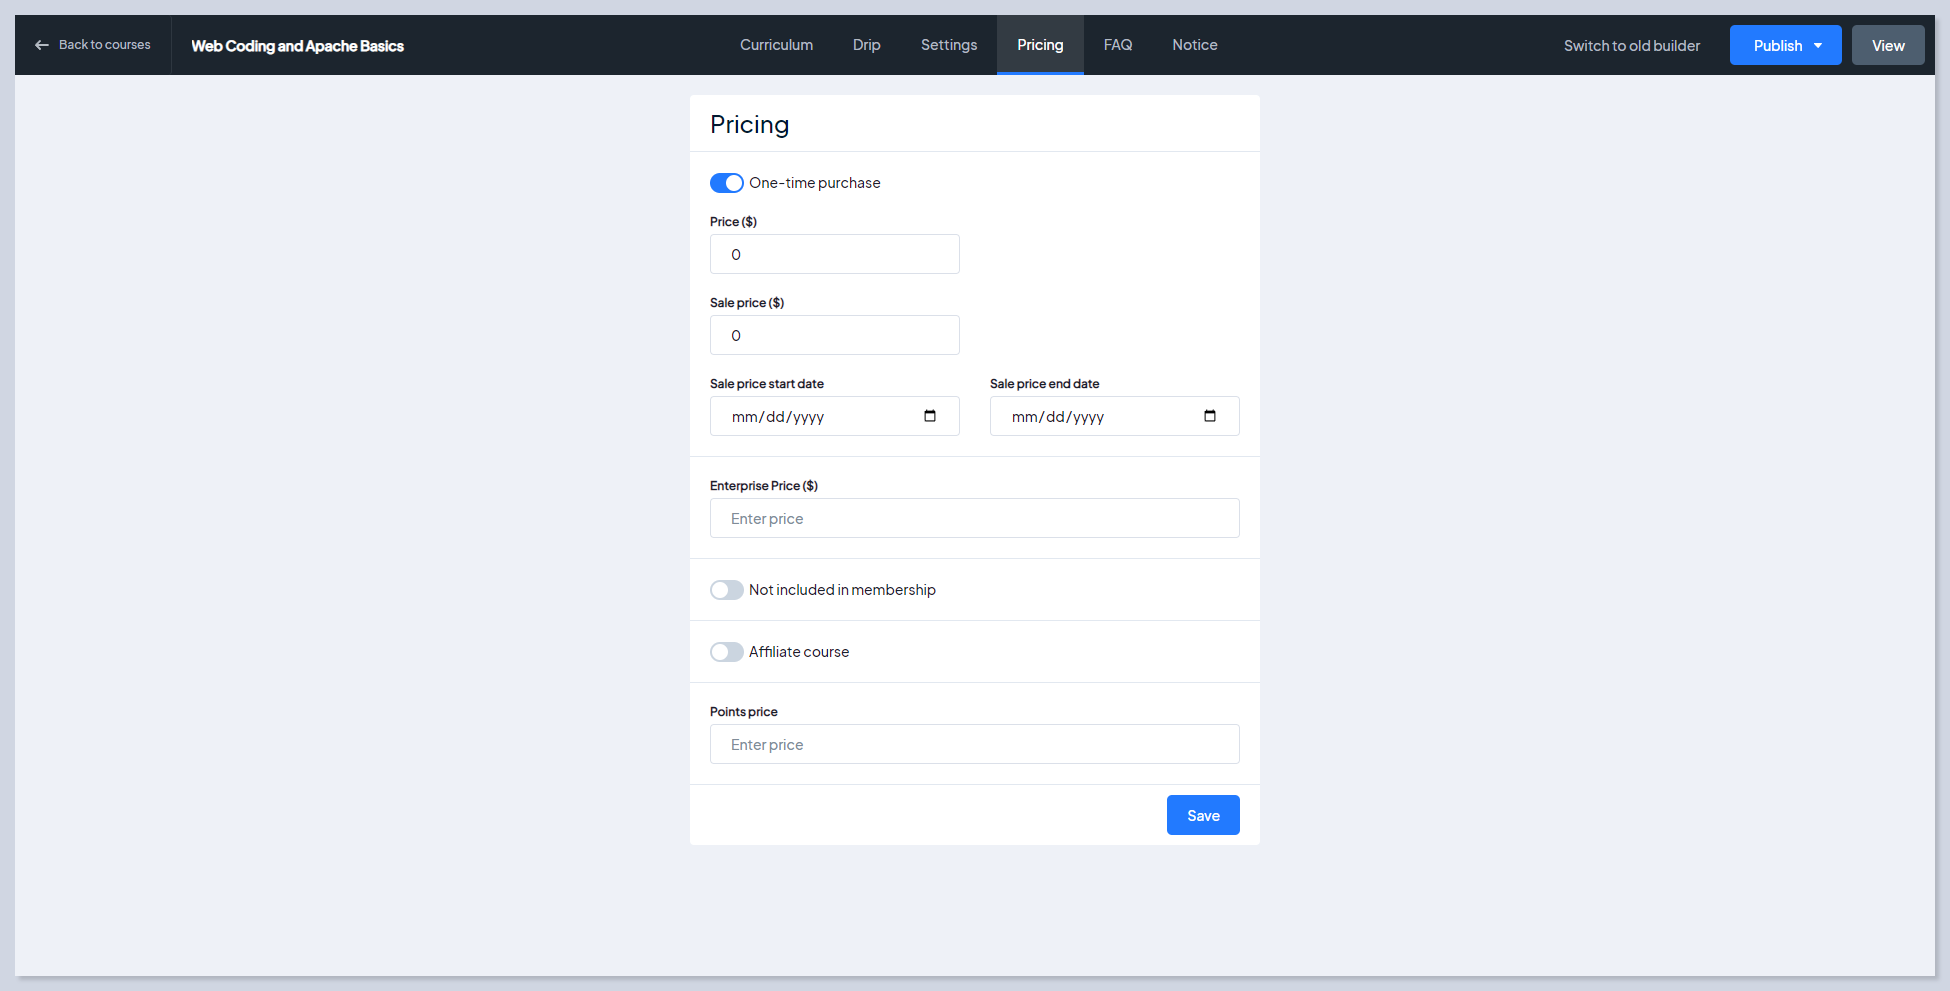
Cake.College works only via one-time purchases and not through membership plans. Set the course price, or leave the field empty to make the course free.
Step 5: FAQ
Use the optional FAQ section to predict possible misunderstandings. Add one by one: items, questions, and answers.

Click on the New FAQ item to add a new question and answer. Enter the question/answer in the spaces provided.
Step 6: Notice
“Notice” is an optional section being used to communicate important course-related information to enrolled students.

Make important announcements for your learners whenever you need to. Write your text in the space provided.
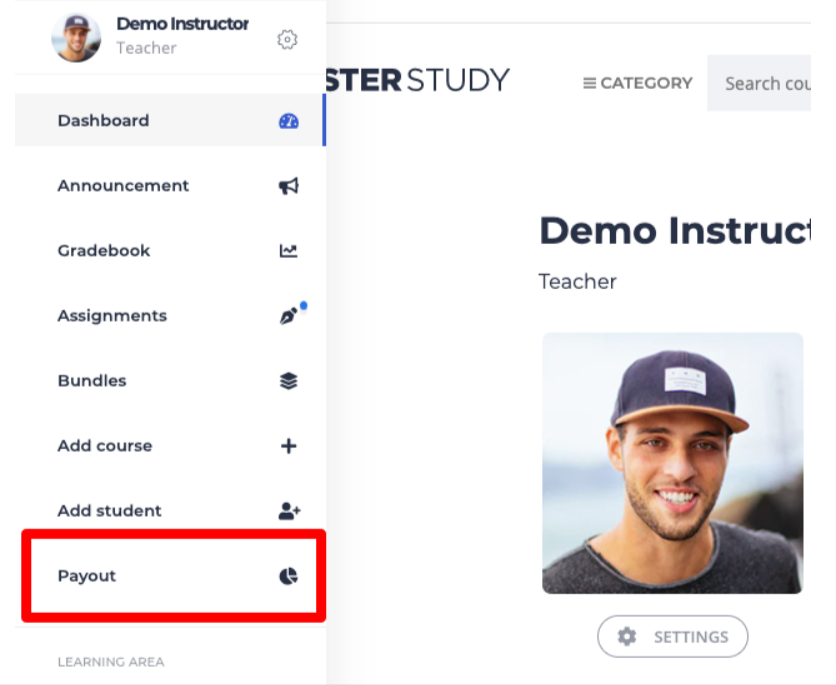
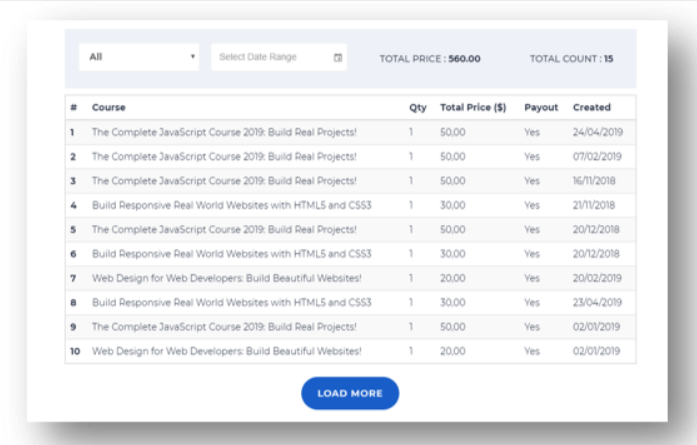
Instructors/Tutors can track sales and earning statistics from the profile menu – Payout section.
The Statistics page consists of Earnings graph (revenue generated) and Sales pie chart.
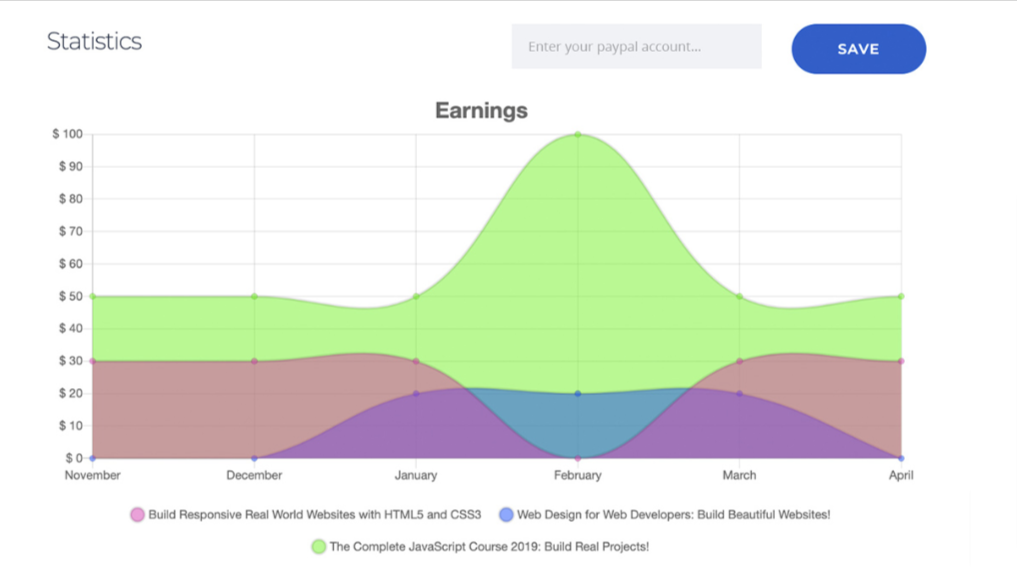
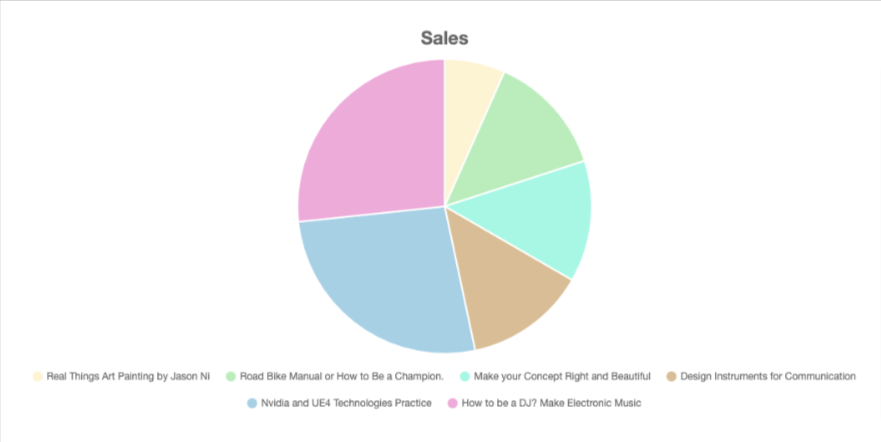
Also, instructors can review total revenue and sales per course.
Cake.College is built with the intention to provide a common ground for Cake Design instructors and students to interact, learn and progress in the field of Cake Decorating.
We respect the work delivered by Instructors around the world, thus:
- Cake.College platform is free for instructors to use. All features are available at no fee. You can upload as many courses as you want and only you decide the sale price of your courses.
- Cake.College does not own any intellectual property rights from courses. All content updated at Cake.College is owned only by instructors.
- Cake College is solely responsible to create and send necessary financial documents (ie. invoices/receipts) to students who purchase courses.
- Cake.College follows a commission-only model. That means we have revenue only if a course is sold. As an instructor you will receive 50% of the sale price you set, per sale.
- Cake.College requests 50% commission per sale. This covers the marketing support provided to promote the courses, administrative and IT related costs as well as collecting & remitting applicable value added tax (VAT) to the proper tax authorities. VAT of 24% is applicable to all sales and is included in the sale price you set for your courses.
- You may also choose to offer your course for free, especially if it’s about a quick technique or advice as a way to increase your followers and boost your reputation throughout Cake College. Cake College does not ask for any commission on free courses.
In order to fully understand Cake.College commission-only model, please read our Terms of Use & Policies (section B. Instructor Terms, part B3. Pricing & Payments) here.
Cake College generates internal monthly statements to track sales for each Instructor. Payments are made when an Instructor has generated at least 300€ in sales (revenue) for the period of last month. Out of the total revenue generated, you will receive your 50%. If revenue generated is less than 300€ for the period of last month, the revenue generated is being withheld. Withholdings are carried over to the next month and added to next month’s revenue.
In case you CANNOT provide an invoice (ie. not registered business, not self-employed etc), payouts from Cake.College towards you are easily handled via Ruul.io service. Please create an account here. Ruul’s commission rate is 4.5%, covered by the Instructor/Tutor.
In case you CAN provide an invoice (ie. you are a registered business, self-employed etc), payouts from Cake.College towards you can be completed directly into your bank account. Bank transfer fees may apply and differ per case, while they are covered by the Instructor/Tutor. Even if you CAN provide an invoice, we highly recommend payment handling via Ruul.io service. You may check the service and create an account here.
Cake College internal statements are generated up till the 5th of each month for the period of the previous month. Payouts to Instructors are being completed up till the 15th of each month for the period of previous month and only if the revenue generated (plus any previous withholdings) is at least 300€.
When it’s time for your 1st payout, Cake College will ask for either your email address connected with your Ruul account, or your bank details (account number, holder name, bank name, swift). It is your responsibility to inform Cake College regarding any change from that point onwards. Cake College is not responsible for any delays in payments caused due to Instructors’ lack of cooperation in terms of providing the correct financial information.
Cake College makes all instructors’ payments in EURO currency.
Instructors are solely responsible to comply with any taxation rules and processes applied depending on their own location. Therefore, instructors understand and agree that they are ultimately responsible for any taxes on their income. Cake College has no responsibility and does not provide information or advice regarding taxation. Cake College acts as the medium to connect students and instructors and is built with the intention to provide a common ground for Cake Design instructors and students to interact, learn and progress in the field of Cake Decorating.
You can check completed payouts anytime through your dashboard.

In order to fully understand the process of receiving your earnings, please read our Terms of Use & Policies (section B. Instructor Terms, part B3. Pricing & Payments) here.
Questions
Under the Quiz Question section, you can add questions to the quiz.


-
Single Choice – Single Choice questions require the selection of one answer from a list of options provided.
-
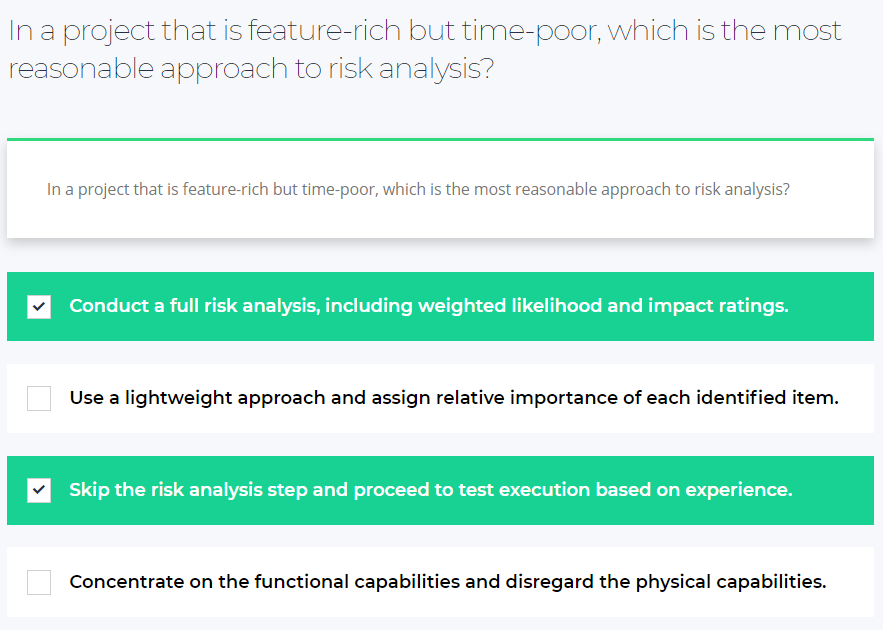
Multi Choice – A question type presents several options for the user to choose the correct answer from
-
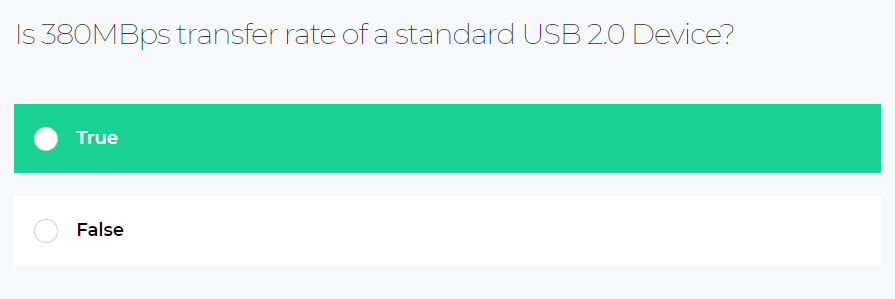
True or False – A question type requires a simple answer of either true or false to a given statement.
-
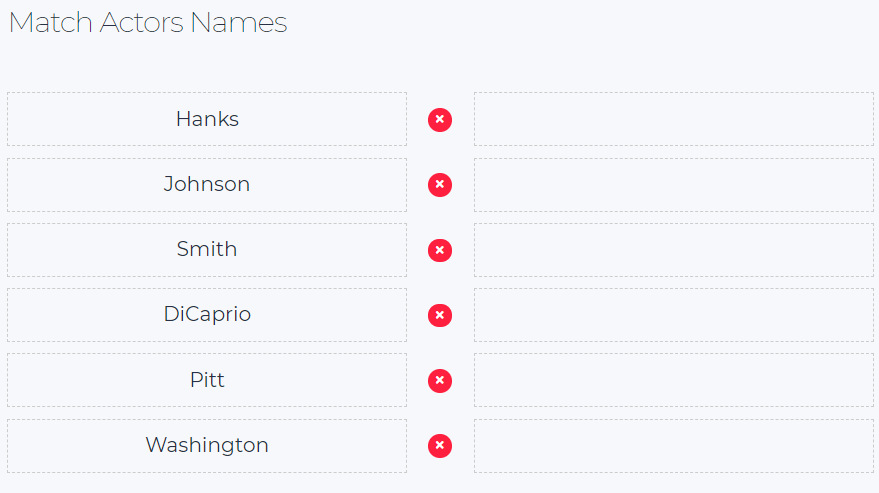
Item Match – In this question type, learners match items from two columns based on their corresponding attributes.
-
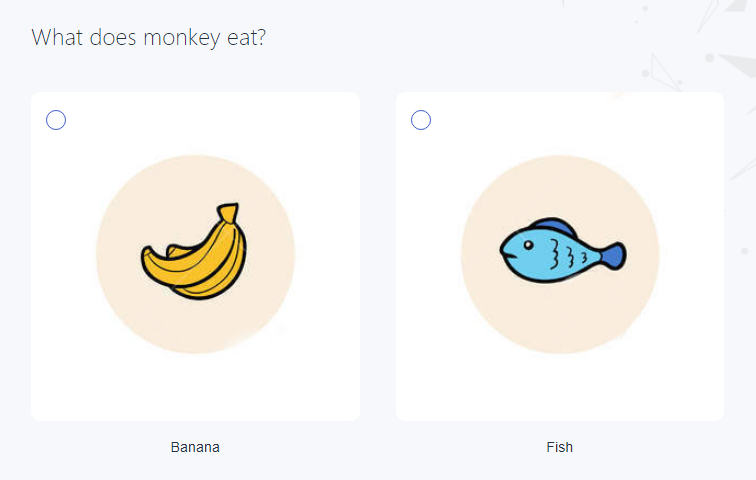
Image Match – In the Image Match type of questions, learners are asked to match pairs from different pictures
-
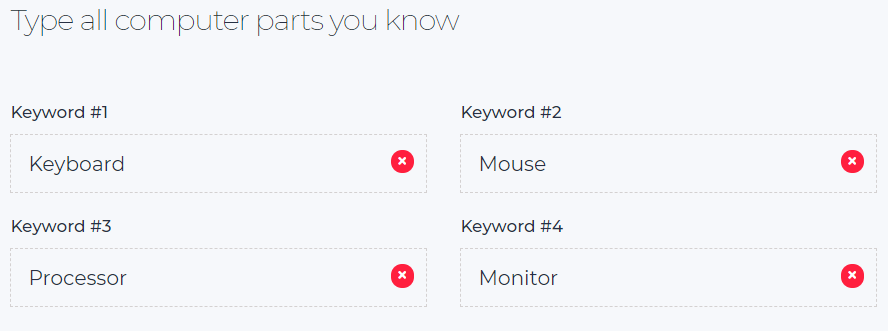
Keywords – Keywords question type requires a brief answer in the form of a few words or a short phrase.
-
Fill the Gap – Fill the Gap question type presents a statement with a missing word or phrase that the learner must complete.
Settings
Quiz settings include the following options:

-
Quiz Frontend Description: Description of the Quiz;
-
Quiz duration: duration in minutes/hours/days;
-
Show correct answer: displays the correct answer at the end of the Quiz;
-
Passing grade: Minimum percentage of correct answers for passing the quiz;
-
Points total cut after re-take: Quiz re-take cut percentage;
-
Randomize Questions: enable automated question randomizer.
Question Bank


Use assignments to test your students by creating interesting tasks for them!
How to add assignments
1. Open your Profile Page. Select any course and open Curriculum. Under the Add course data section add a new Assignment.

2. Once you created an assignment, find it in the list and fill it out as you need.

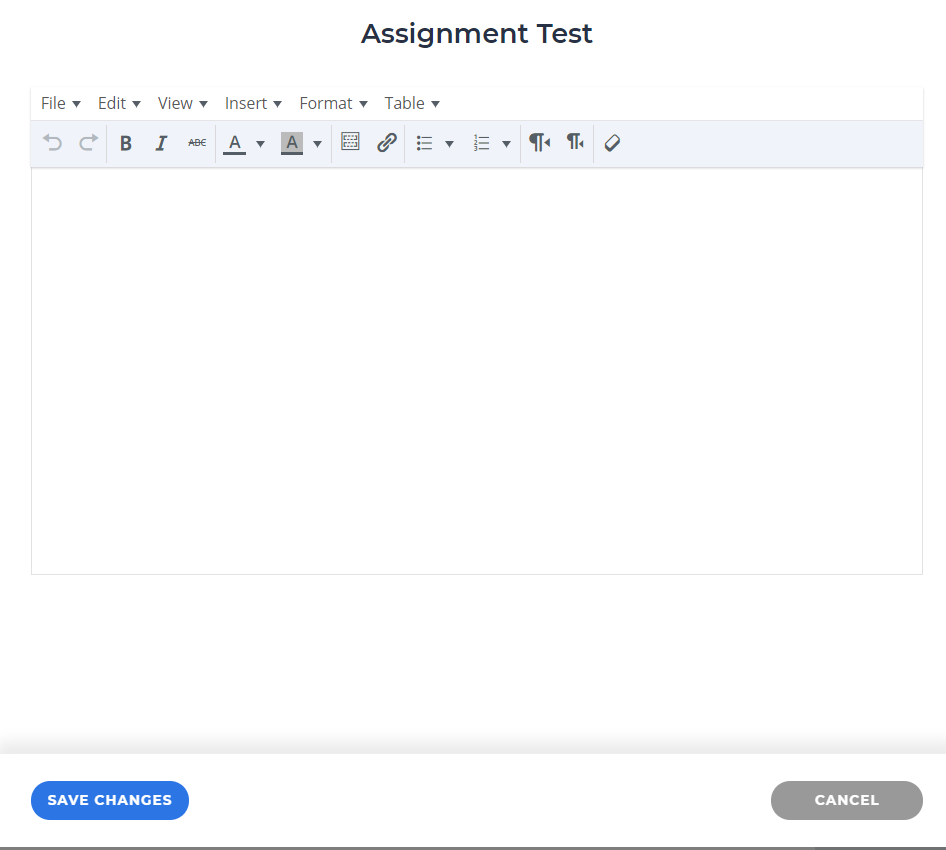
- There is no limit of allowed attempts for students to pass assignments. Even if they fail, they are able to retake the assignment as many times as they wish. In case you would like to setup assignments with an attempt limit, get in touch with Cake.College team to guide you through.
- Instructors/Tutors can upload up to 2 files per assignment. Each uploaded file can be of maximum 50mb. File types allowed are: jpg,jpeg,png,pdf,doc,docx,ppt,pptx,pps,ppsx,xls,xlsx,psd,mp3,ogg,wav,mp4,m4v,mov,wmv,avi,mpg,zip.
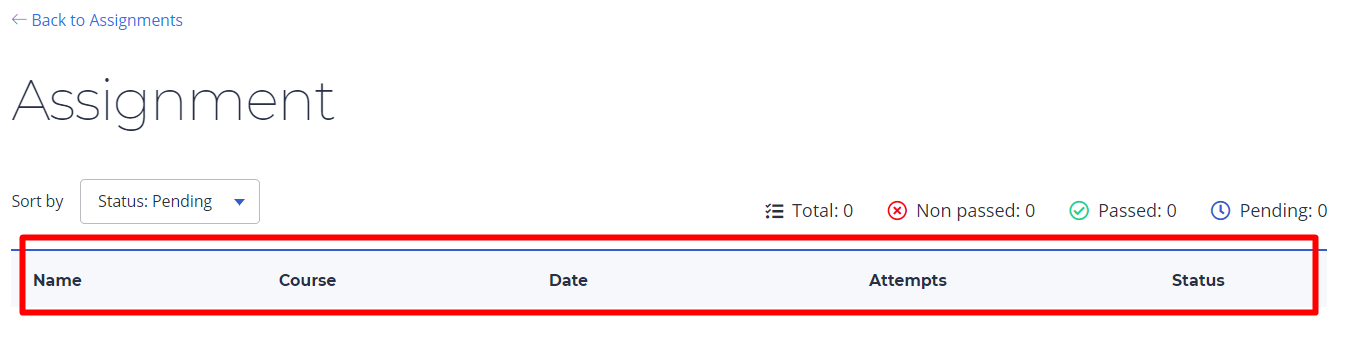
How to check students’ progress on the assignment
1. Click on the Assignments in your profile menu. Choose the assignment you want to check and load statistics.

2. See the students’ status for a selected assignment.
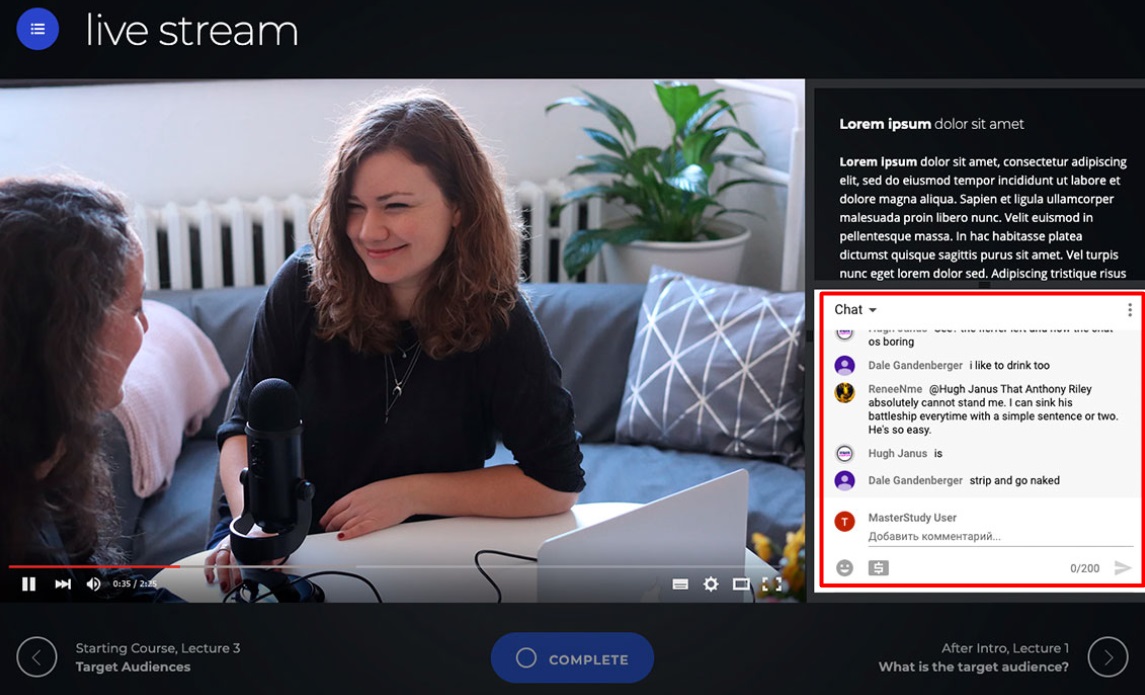
Cake.College offers you the opportunity to set up Live Streaming Lessons. Instructors are able to live stream through the secure, third-party service, Youtube.
With the Live Streaming feature, you will be able to interact with your students on the highest level as they will follow the study materials, add their comments and questions in the Live Chat and give feedback immediately.
How to setup live streaming lesson
1. Open any course straight from your profile page and choose one lesson in your course Curriculum.
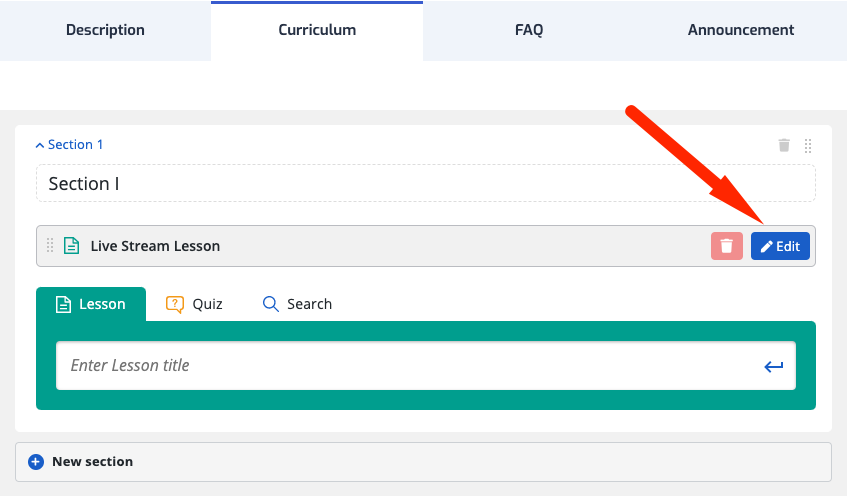
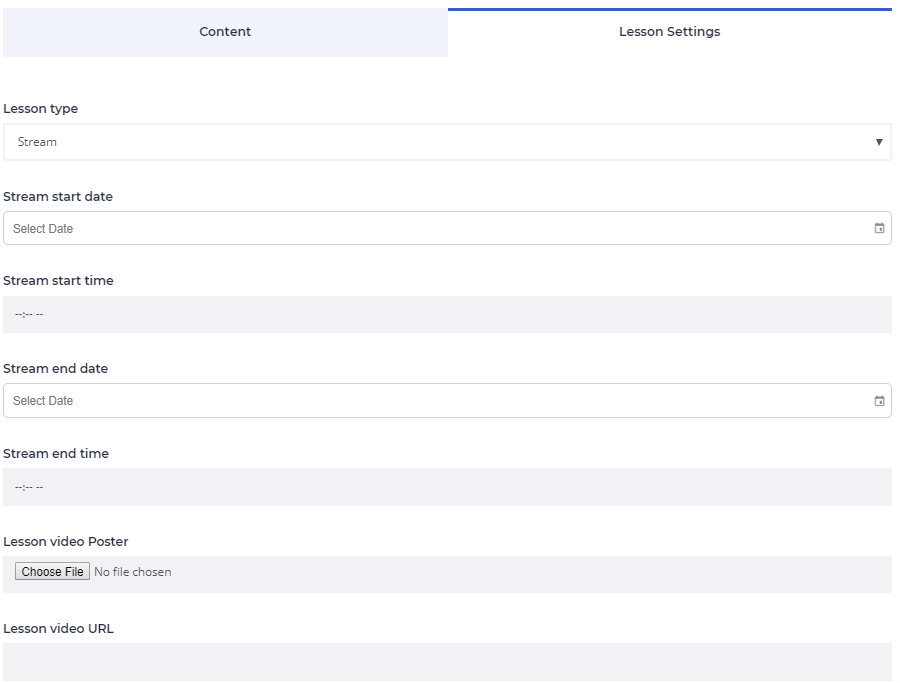
2. Go to the Lesson Settings. Choose Stream as the lesson type in the drop-down menu. Set time and date for the stream.
3. Finally, here are the steps in order to generate and add the Live Streaming video URL:
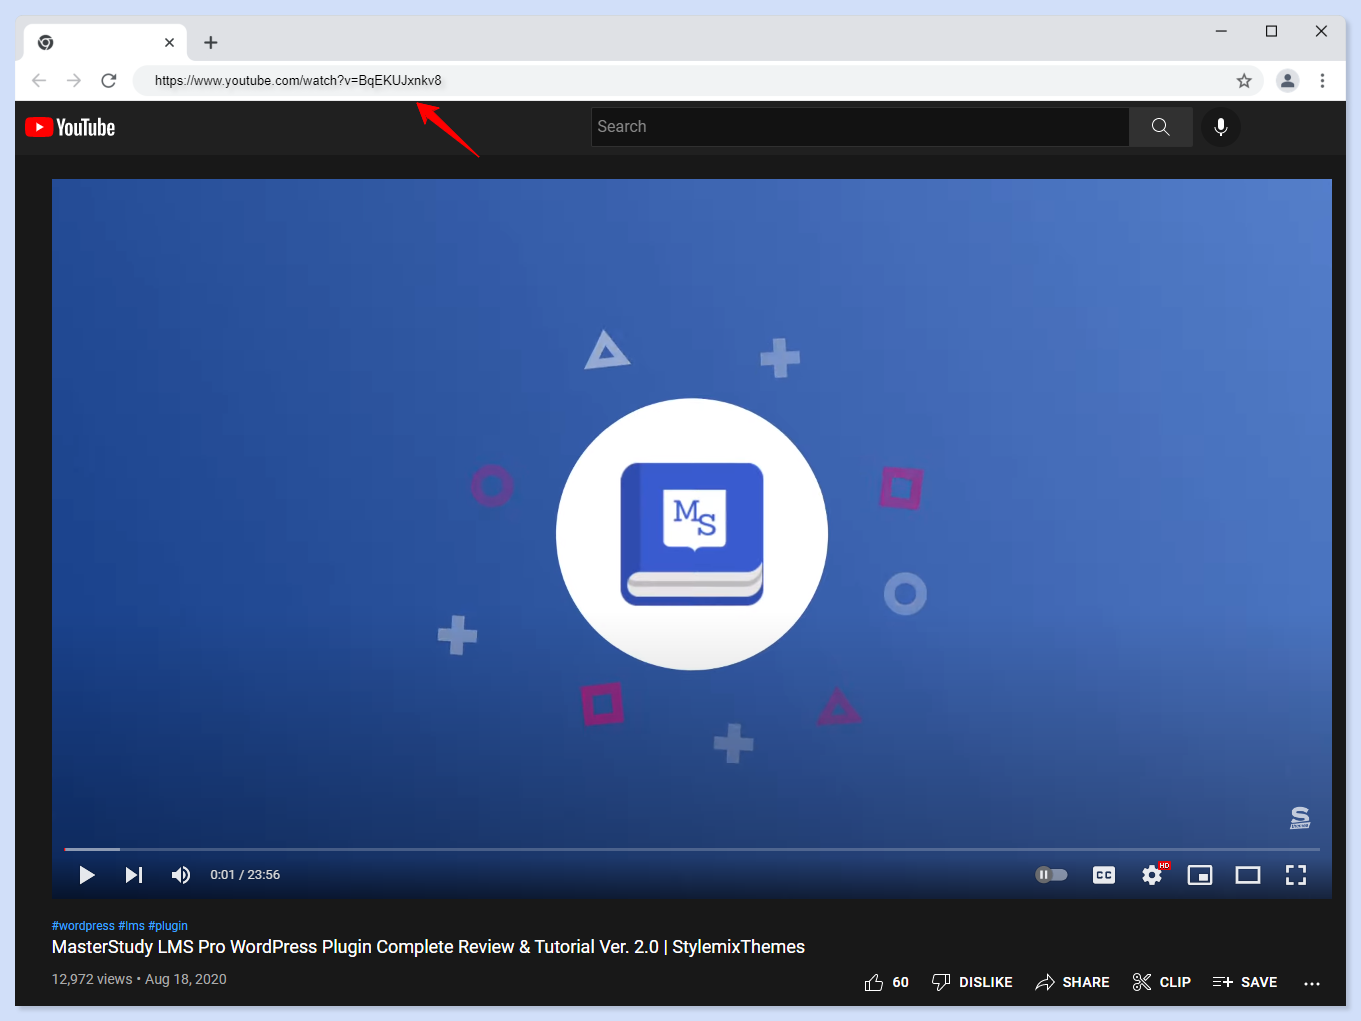
a. Use YouTube to create a live stream session. Learn here how to use live streaming on Youtube.
b. Set Youtube stream as private, so only users with the link can access ut. Once you set up the video on YouTube, click on the Share button under the player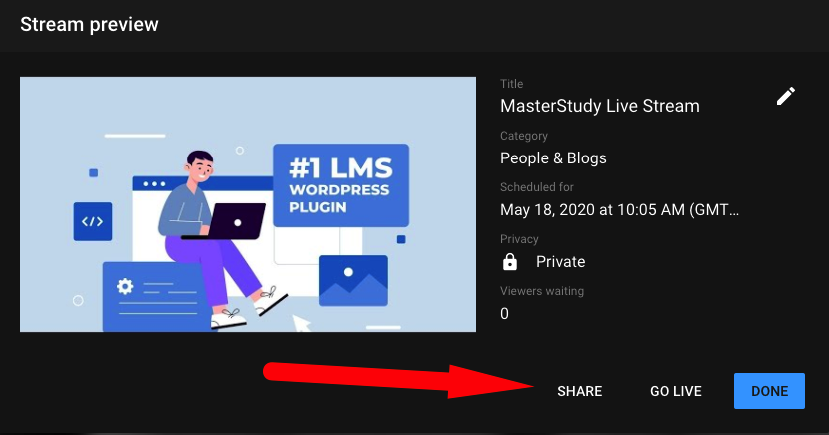
c. Next, in the popup find the button Embed and click on it.
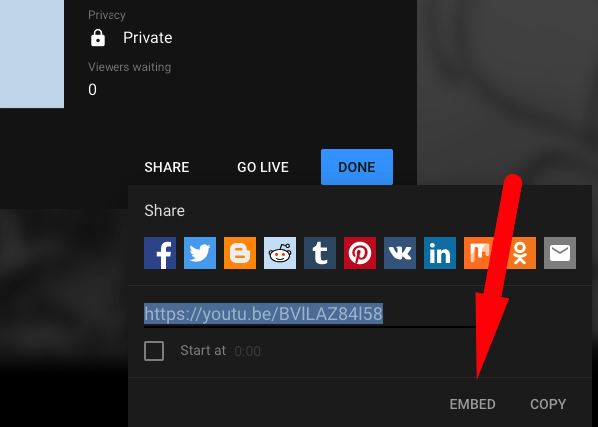
d. Now you will see the iframe code where you need to copy just a part of it. Copy the link exactly as shown in the image below.
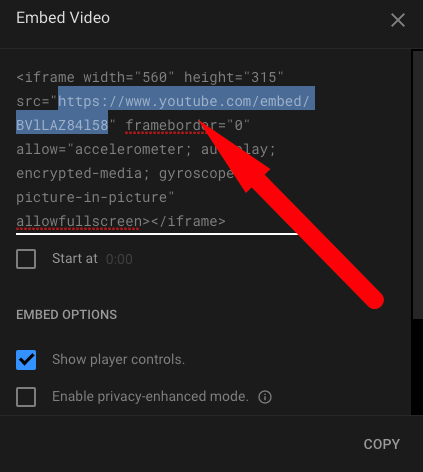 e. Use this link to add the live streaming video on your lesson page. Just paste it in Lesson video URL field.


Allow students to try some of the modules for free, before purchasing your full course.
Students will be able to complete free lessons on the trial course without purchasing. The rest of the course content will be accessible only after they buy the course.
Once the free trial lesson is completed, a student will be offered to buy the course to unlock the rest of the content.

For trial lessons setup, get in touch with Cake.College team to guide you through.
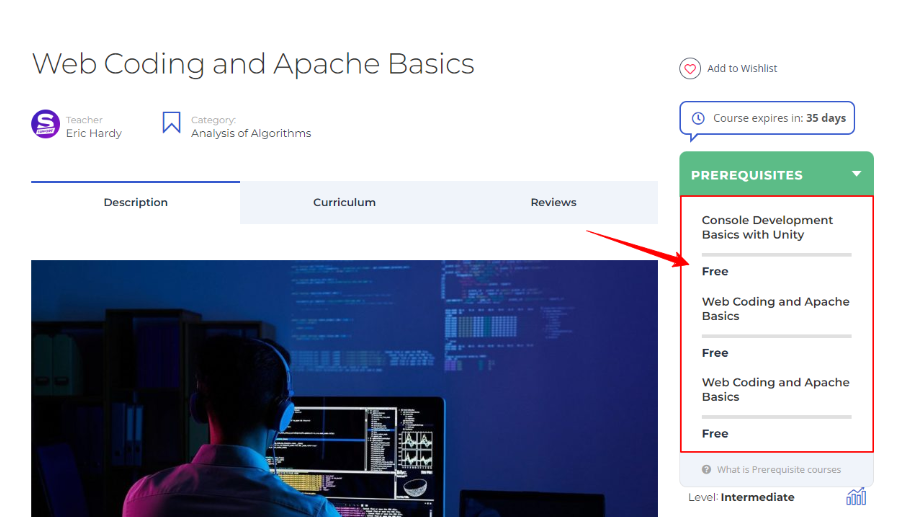
Prerequisites is an optional feature and refers to required courses that students must complete before they are able to enroll in the next course of yours (usually of a higher level). You may set up prerequisites’ settings of a course in the Course Prerequisites section.

There, you can add courses that should be completed before students are able to purchase this course. Furthermore, you may even specify the passing rate (%) of a prerequisite course.
If students want to enroll in the course, they will see that it has a prerequisite, meaning there is a requirement they must meet before enrolling, so they need to accomplish that first.
Drip Content is a useful tool that will help you to provide a proper flow of the education process. Drip content is a method of releasing educational material gradually and unlocks lessons only after the student has passed another required lesson or assessment.


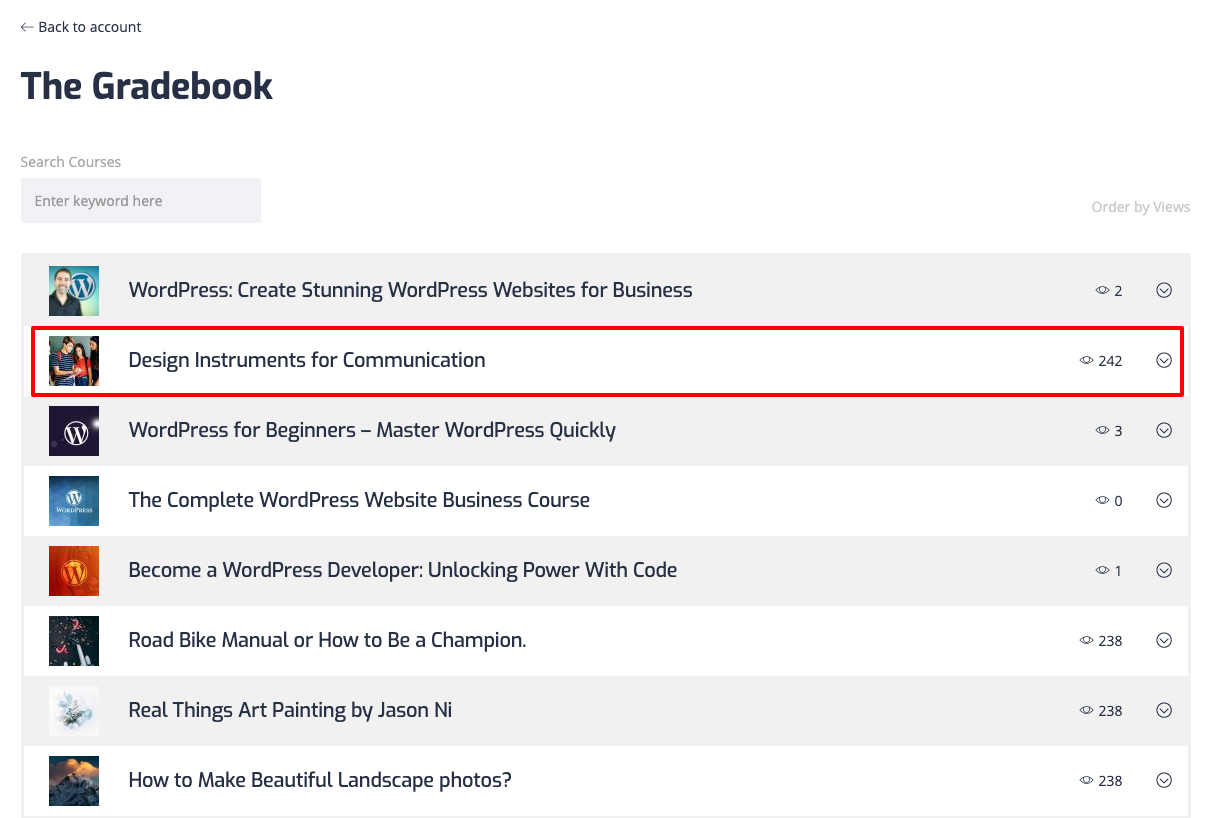
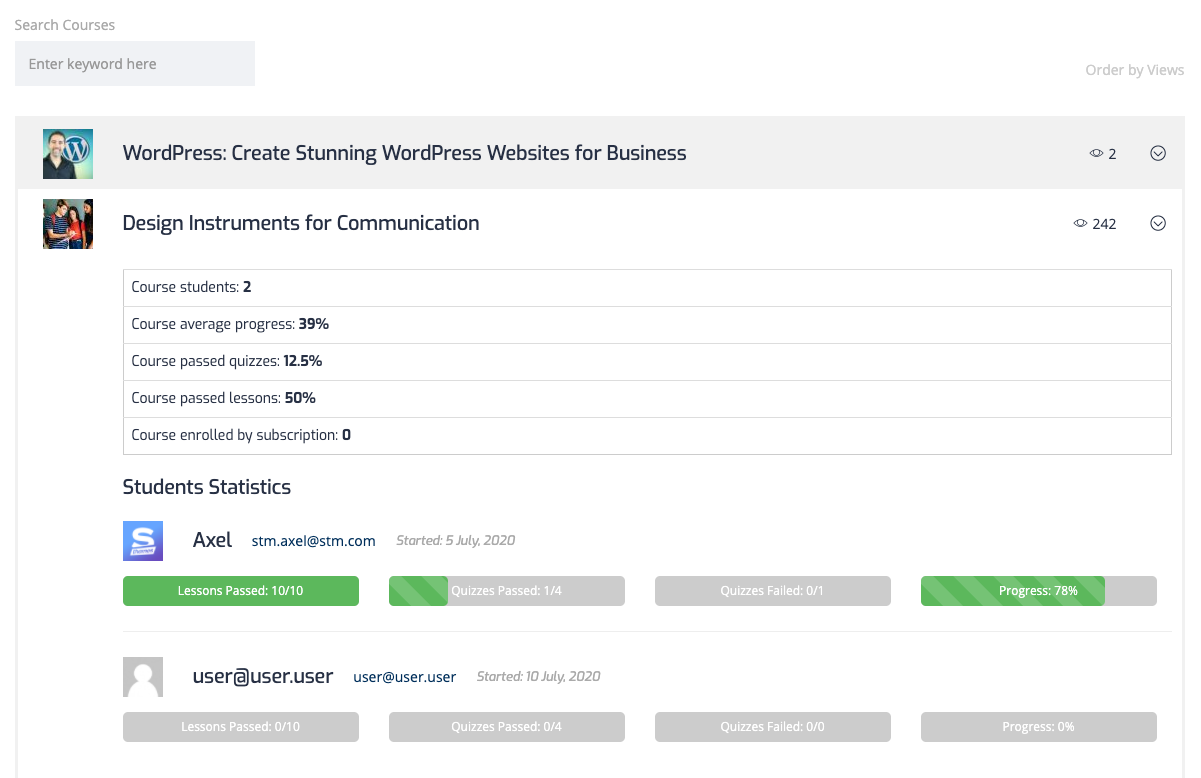
You can collect statistics of your students’ progress with the Gradebook feature. Instructors can get access to the Gradebook from their profile pages.
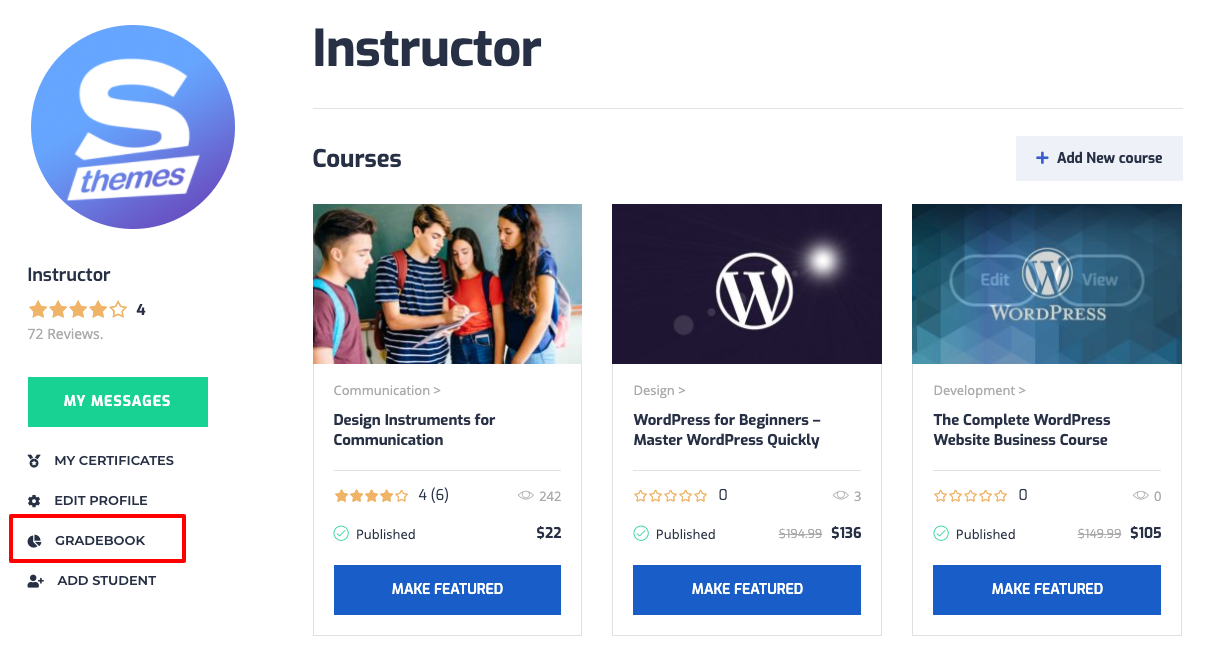
Select the course you need to load statistics. You can see overall information like the number of students enrolled, and load the statistic for specific students to track their progress.
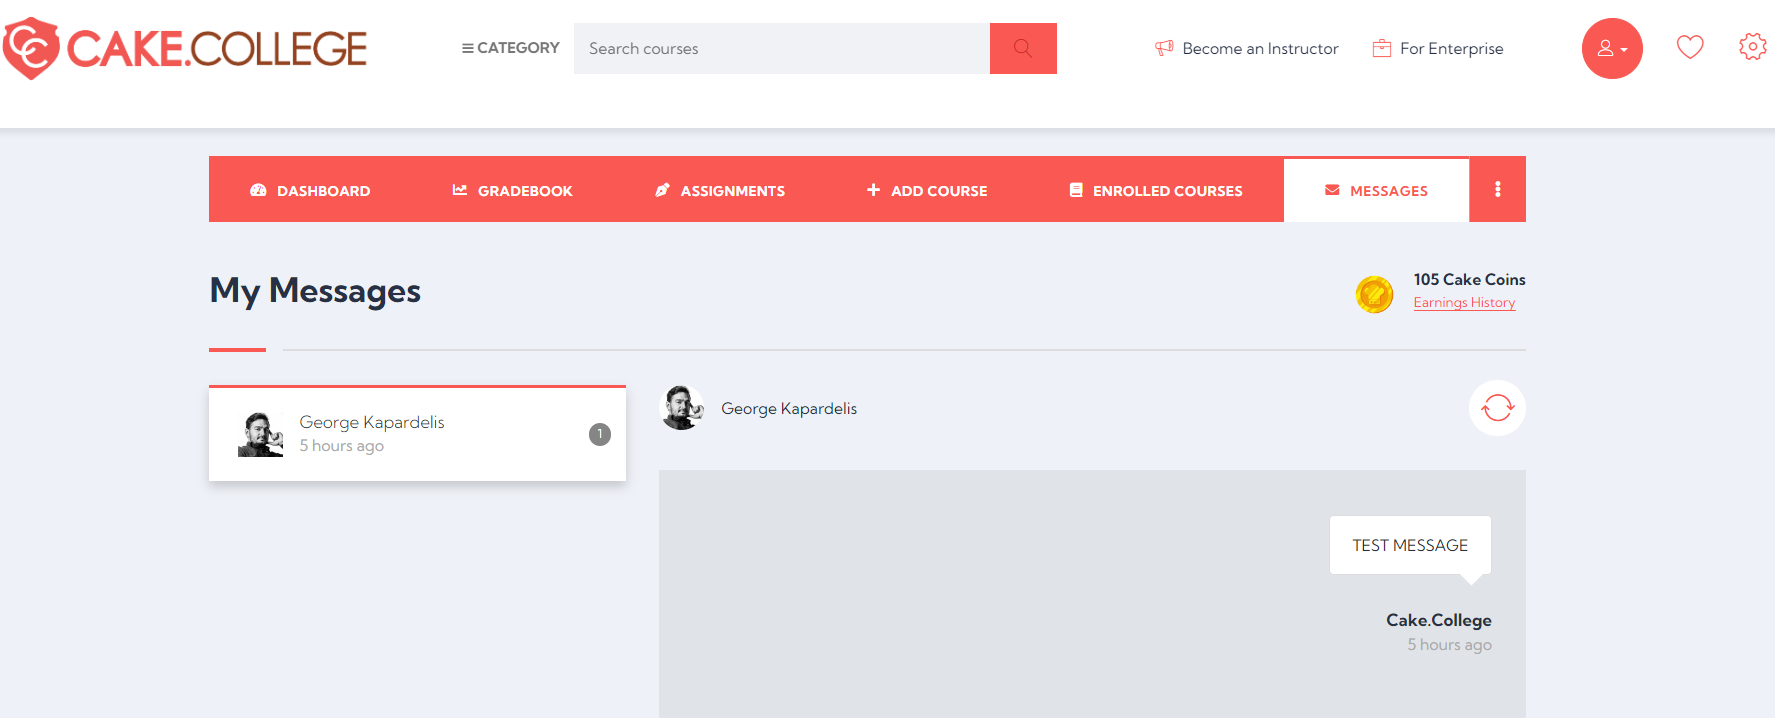
Respond to students’ questions easily. Direct communication channel through your dashboard and Full history of your conversations.
Instantly and collectively notify students enrolled in a course of yours regarding important topics.
Announcement (or Notice as we call it) can be created either when you set up your course or anytime through your dashboard.

Essentially, it’s a way for users to showcase their achievements and completion of the course. A certificate by Cake.College will be awarded to every student after any course completion.
Certificates are generated automatically and include the following data:
- Date
- Course Title
- Student’s Name
- Instructor/Tutor’s Name
Below is an example of the certificate:

MP4 Source type
HTML (MP4) Source type allows instructors to directly upload video files to the lesson.

-
Lesson video: By clicking the upload button, a video file can be selected from your Media Gallery. If the video does not exist on the Media Gallery, it is possible to select it from your computer and upload it to the lesson.
- Lesson video poster: The preview image that displays before playing the video.
- Lesson video width: Maximum Video Width.
Students can continue watching the video from the point they stopped before, so even returning to the lesson day after they still can continue from the minute they left.
YouTube Source type

- YouTube video URL: The direct URL of the video that can be copied from the Browser address bar.

-
Vimeo video URL: The direct URL of the video that can be copied from the Browser address bar.

External Link Source type

- External link: The direct URL of the video that ends with an extension of the file, ie. https://site-name.domain/videos/sample.mp4

-
Embed iFrame content: The embed code of the video that can be copied from the player or while sharing.

-
Single Choice: These questions allow choosing only one answer from the list offered.

-
Multi Choice: One of the most popular types of questions which shows several answers to a question and more than one answer can be selected.

-
True or False: One more well-known form of Closed-Ended Questions where there are only 2 choices for the answer, which are either True or False.

-
Item Match: In Item matching, you ask the learner to match two sets of data. Here you provide several phrases or words and, for instance, divide them into two columns. The goal for a student is to connect the phrase from the left side with the matching one on the opposite. In other words, link images or phrases with each other.
-
Image Match: In Image Match type of questions students are asked to match pairs from different pictures. Students should drag and drop pictures to create logical pairs. Correct and incorrect pairs can be displayed after submitting a quiz.

-
Keywords: Keywords ask students to enter their answers in the provided boxes. They can write more than one answer at a time. Their answers should coincide with the keywords you entered.
-
Fill the Gap: A Fill the Gap question provides to the student space where they should enter their answer – complete the sentence with 1-2 words. This excludes any guessing and checks the actual knowledge of learners. Type the text as shown in the example. Separate the missing words for the students with “|” symbol.Student’s view:


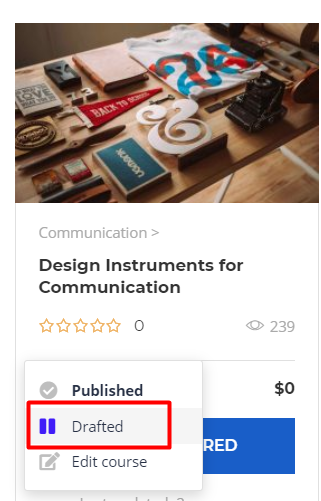
- Draft


- Pending
When publishing the course it will have a Pending status, meaning the admin has to approve it. Only after approval the course will be visible to students.
- Published
Courses receive the Published status after Admin has approved the course.

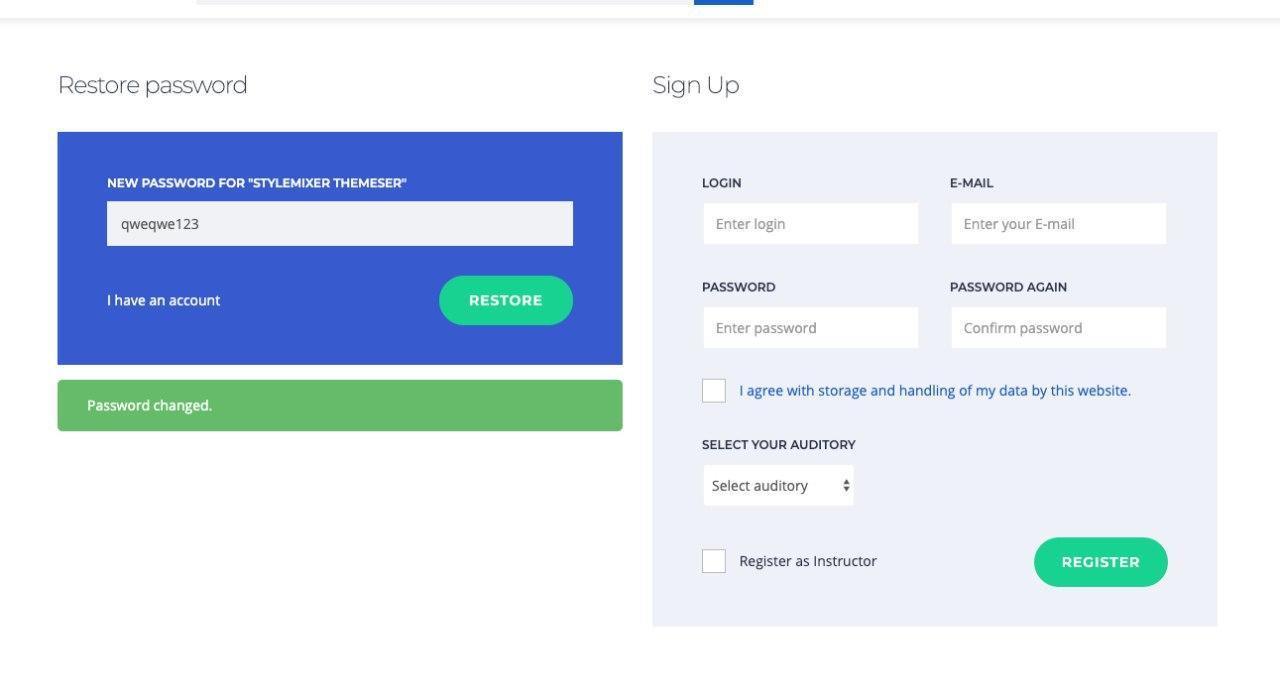
By clicking on the Lost Password button, when signing in, you will be emailed a reset link.